A warm, beginner–friendly guide to 3D printers perfect for cosplay, covering top picks, filament choices, and simple steps for printing detailed, durable props.
If you’ve ever dreamed of crafting your own armor, props, or intricate masks, a 3D printer can turn that dream into reality. Finding the Best 3D Printer for Cosplay is key to getting crisp details, sturdy parts, and smooth finishes. Don’t worry if you’re brand-new to 3D printing. This friendly guide will walk you through everything from must-have features to top beginner picks—no tech jargon overload, I promise.
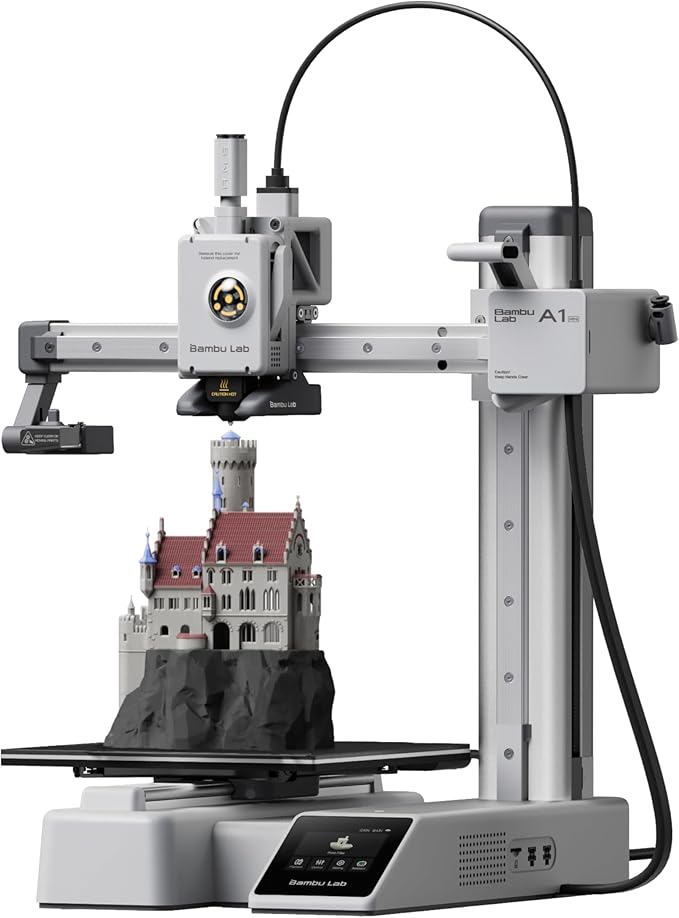
Our Number 1 Pick: Bambu Lab A1 Mini 3D Printer ($200)
Supports multi color printing with AMS or AMS Lite for richer, more creative output.
Prints fast with 10,000 mm/s² acceleration while keeping precision and detail allowing for faster 3D Prints.
Auto calibrates bed leveling, Z offset, and vibration before every print allowing for less work.
Adjusts flow rate in real time for smooth, accurate layers.
Runs quietly at around 48 dB, making it easy to use in apartments
Compact size at 15.2" x 16.8" x 17.9" and about 18 lbs, easy to fit anywhere.
Arrives mostly assembled and ready to print in about 20 minutes.
Known for reliability and easy operation according to community feedback.
Built for efficiency with automation that saves time between prints.
Great choice for small businesses, hobbyists, or mobile printing setups.
Cosplay props can be big, delicate, or both. You need a printer that can handle:
Build volume for larger pieces (think gauntlets or shoulder pads)
Fine detail to capture sculpted textures
Material versatility so you can switch between rigid and flexible filaments
Because cosplay often demands durability, you’ll want a machine compatible with ABS or PETG. And if you’re painting or priming, a smooth surface finish saves hours of sanding later (Yikes, sanding is the worst!).
Why Cosplayers Love 3D Printing
Many cosplayers start by handcrafting foam or cardboard pieces. But 3D printing brings consistency. You can:
Print the same part multiple times for symmetrical armor
Adjust designs easily in CAD software
Share or download community models
And because cosplay is all about details, a printer that hits layer heights around 0.1 mm makes a big difference. Those tiny grooves and raised edges will really pop—just like you want when you’re at a con.
Features to Look For
When selecting the Best 3D Printer for Cosplay, focus on these four essentials:
1. Generous Build Volume
A 200 × 200 × 200 mm bed is the minimum. For larger helmets or prop swords, aim for at least 250 × 250 × 250 mm.
2. Material Compatibility
PLA is beginner-friendly, but ABS and PETG give you tougher prints. Check your printer specs:
A rigid metal frame and a sturdy bed minimize wobble. That means sharper corners on your cosplay pieces, not funky artifacts.
4. Ease of Use
Auto-bed leveling, touchscreen menus, and clear assembly guides make setup painless. You’ll spend more time designing and printing, less time troubleshooting nozzle jams.
Top Cosplay-Friendly Printers
Here are our favorite beginner-friendly 3D printers that deliver size, speed, and precision for cosplay projects:
FLASHFORGE Adventurer 5M
Price: $280
Build Volume: 150 × 150 × 150 mm
Why it’s great: Enclosed chamber for ABS, quick-change nozzle system, and a sealed filament cartridge that keeps dust out.
Quick tip: Use Food Safe PLA only for costume accessories touching skin.
Print armor scales in a single sheet and snap them together.
Create prop weapons with hollow interiors to save weight.
Craft intricate masks with built-in ventilation channels.
Because cosplay is art, mix and match techniques. Use a resin-printed gem inset into a PLA frame, or combine flexible TPU grips with rigid PLA mounts. The sky’s the limit.